Using Specify
In this 2-minute video we show the power of Design Tokens using Specify and Backlight.
Workflow summary
- Designer changes some Tokens (styles) in Figma and publishes the library with changes
- Designer opens Specify and clicks "Sync"
- A pull request is created automatically in GitHub
- Style-Dictionary is run and results are added to this PR automatically
- A Backlight preview link will appear in the PR
- Designers (and optionally developers) can see visual changes and review + approve
- Changes are merged into main
Note how 0 developers are needed here!
Code and design will be in sync 🎉 and designers will have more autonomy.
Full video
Below, Joren shows how he created this starter kit by walking you through connecting Specify, Backlight and GitHub to your Figma design system. This enables the flow shown in the video above.
Alternatively, follow the steps below to set up Specify with your Backlight project.
In these examples, we show how we set up our Specify starter kit, which you can also duplicate for a quick start.
You'll still need to hook it up to your GitHub repository, Figma library and Specify repository.
Figma styles and library
As a first step, create a Figma file and start with some Design Tokens in the form of Color, Effect, Text Styles.
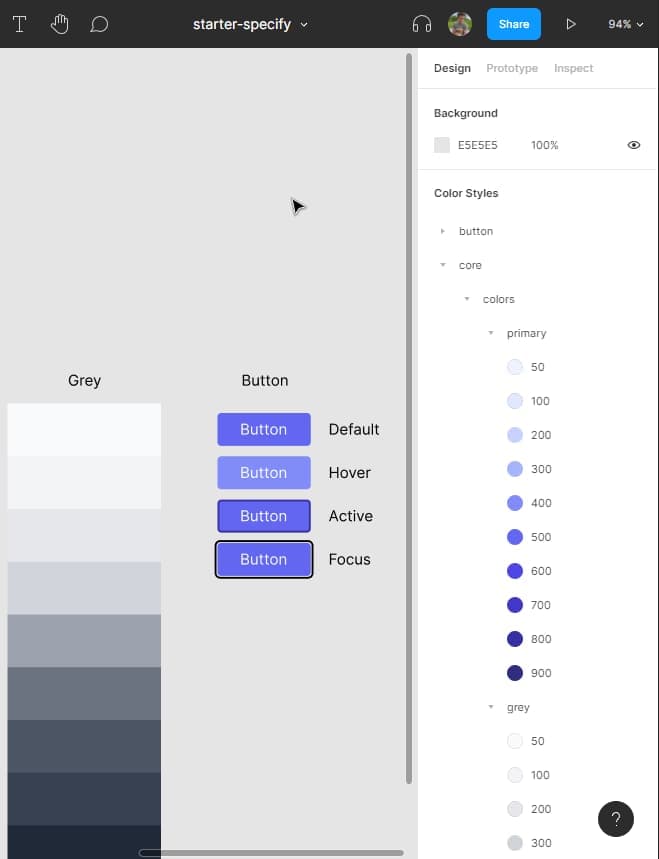
Once done, publish this as a Figma library.
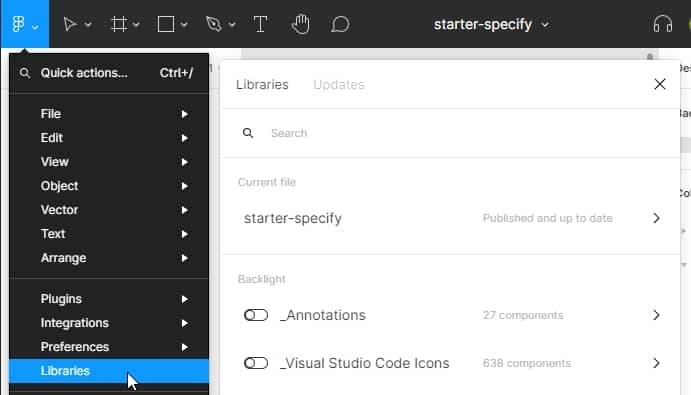
Specify
Now that we have a published Figma library, let's connect that to Specify. Open up your Specify repository (or create it if you don't have one yet) and add a Source --> Figma. A trial version will also work here.
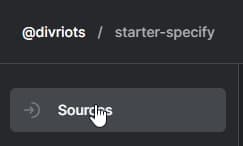
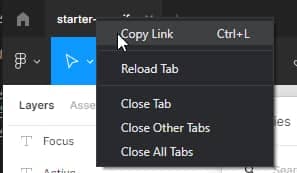
Select your Design Token type, use "Local Styles" and in the link field, paste the link that you can copy from here:
You should now have your published Figma styles loaded as Design Tokens in Specify.
GitHub
To connect Specify with GitHub, your Backlight project should be connected to GitHub. We recommended installing the Backlight GitHub app to make things more seamless.
Once done, go to Specify -> Destinations and install the Specify GitHub app to your repository.
After you've done this, you should add a .specifyrc.json file to the root of your repository, you can do so in GitHub directly, or through Backlight. Here's an example .specifyrc.json:
{
  "repository": "@divriots/starter-specify",
  "head": "specify",
  "rules": [
    {
      "name": "Design Tokens / Colors",
      "path": "sd-input/",
      "parsers": [
        {
          "name": "to-style-dictionary",
          "options": {
            "splitBy": "/"
          }
        }
      ]
    }
  ]
}
For the repository field, make sure you use your Specify repository, not your GitHub repository. In the path field, define a folder where you want your Style-Dictionary input JSON files to be inside of. We picked "sd-input".
For more information, see Specify configuration. For more docs on the parser, see to-style-dictionary Parser.
Once you have committed and pushed this file to your default branch, you should see a new pull request pretty soon after from Specify. In this pull request, Specify takes the tokens from your Specify repository and converts them to style-dictionary format inside the sd-input folder.
Accept and merge this pull request.
Style-Dictionary
Now that we have some Style-Dictionary input files generated automatically from Figma, we can start exporting our Design Tokens to a platform of our choice.
In this example, we will take CSS custom properties (or also known as CSS variables).
Inside Backlight, create a sd.config.cjs if you don't have one yet. Here you can choose how you'd like to export your Tokens, for example:
module.exports = {
  source: ['sd-input/**/*.json'],
  css: {
    transformGroup: 'css',
    prefix: 'foo',
    buildPath: '',
    files: [
      {
        destination: '_variables.css',
        format: 'css/variables',
      },
    ],
  },
};
You should notice that as you change the config, Style-Dictionary will run inside Backlight to generate a _variables.css under Root Files. You can now use your Design Tokens in CSS, for example, to create a CSS button component!
GitHub Action
To automate everything, we need to take one more step. When you change Tokens in Figma, publish the library and sync in Specify, this will create a pull request. In this pull request, we will get the new sd-input tokens, but we need to run Style-Dictionary as well to get the output _variables.css. We can automate that with GitHub Actions by creating a workflow:
.github/workflows/specify.yaml:
name: Run style-dictionary

on: pull_request

jobs:
  run_if: # only if base branch is "specify"
    if: ${{ github.head_ref == 'specify' }}
    name: Run style-dictionary
    runs-on: ubuntu-latest
    timeout-minutes: 5
    steps:
      # checkout to the head of this PR
      - uses: actions/checkout@master
        with:
          repository: ${{ github.event.pull_request.head.repo.full_name }}
          ref: ${{ github.event.pull_request.head.ref }}

      - name: Run style-dictionary
        run: npx style-dictionary build --config sd.config.cjs

      - name: Commit changes
        uses: EndBug/add-and-commit@v9
        with:
          author_name: Example
          author_email: example@gmail.com
          message: 'chore: style-dictionary output'
          add: '.'
Make sure to change the author_name and author_email to use your own information.
This workflow runs upon pull requests activity when the base branch (head_ref) equals specify, so only the Specify automated PRs. For regular pull requests, you probably don't need to run this workflow or you have already run Style-Dictionary in Backlight.